




Typical Course Content
Welcome and Discussion of the Agenda
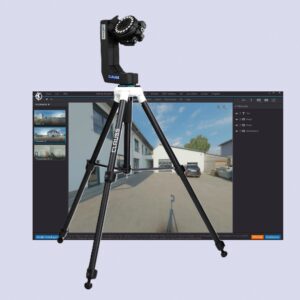
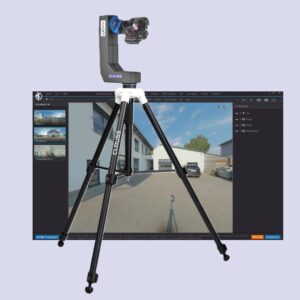
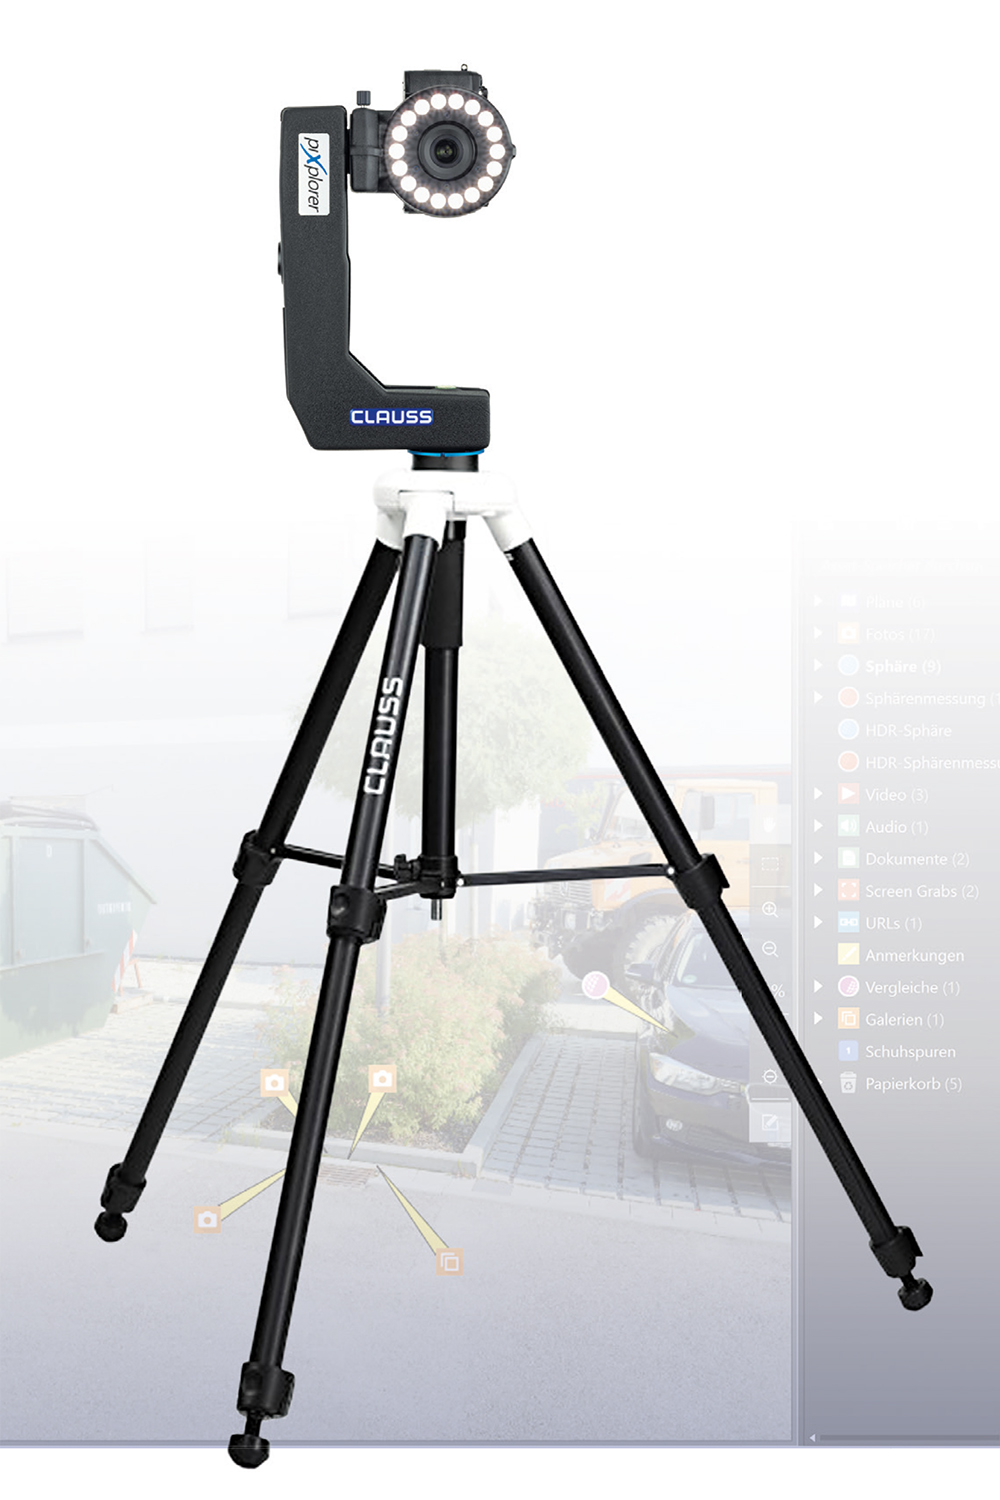
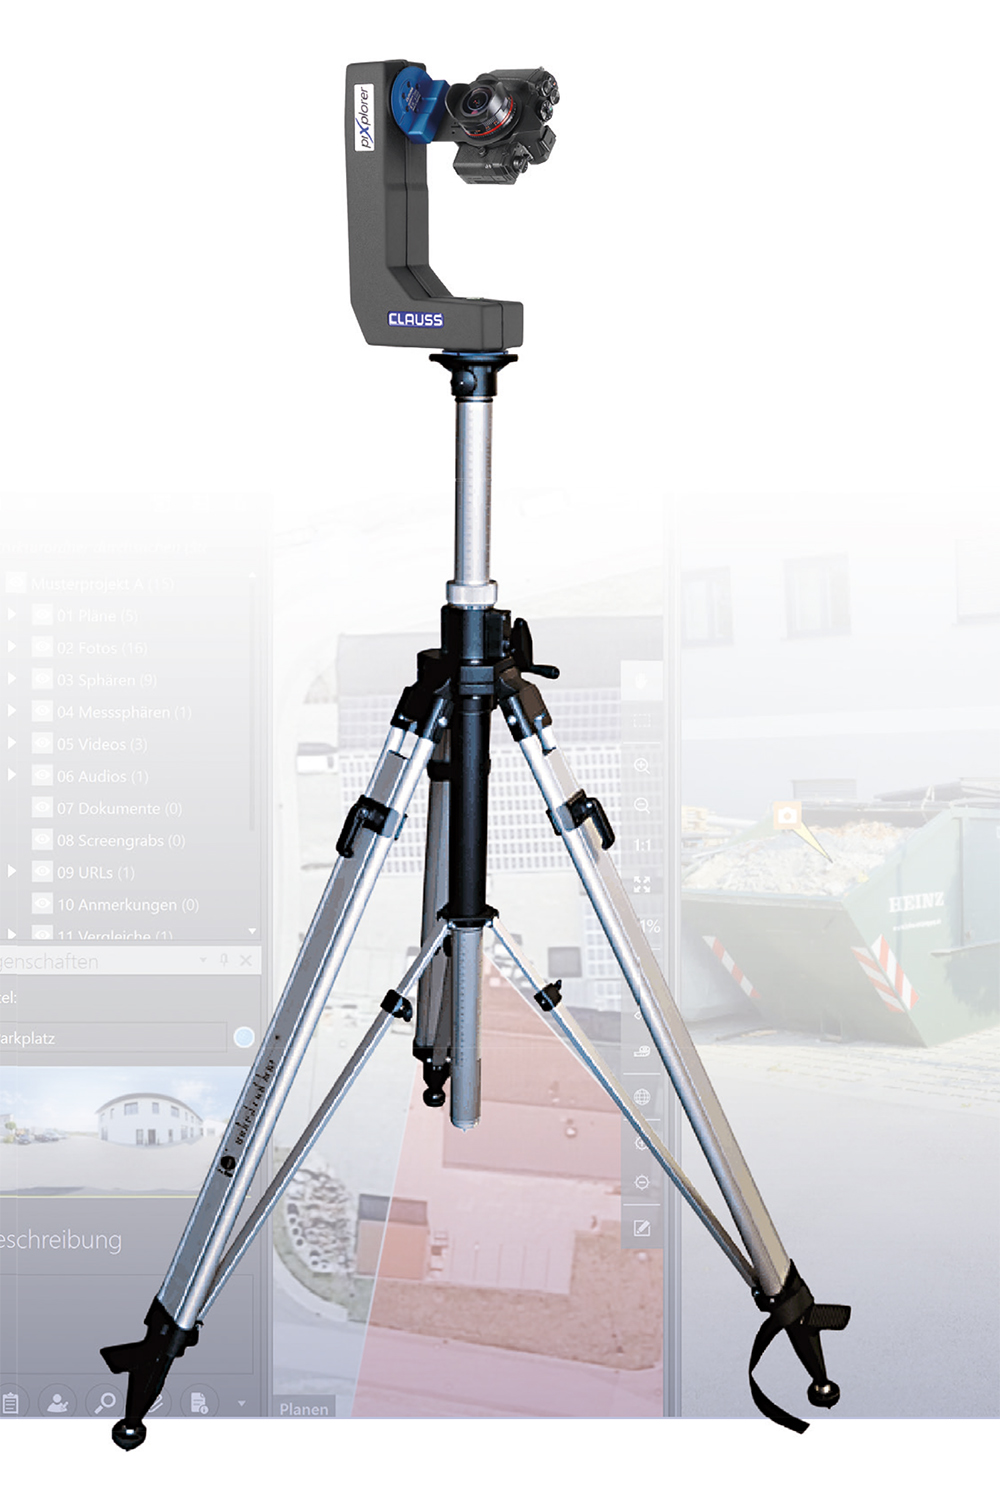
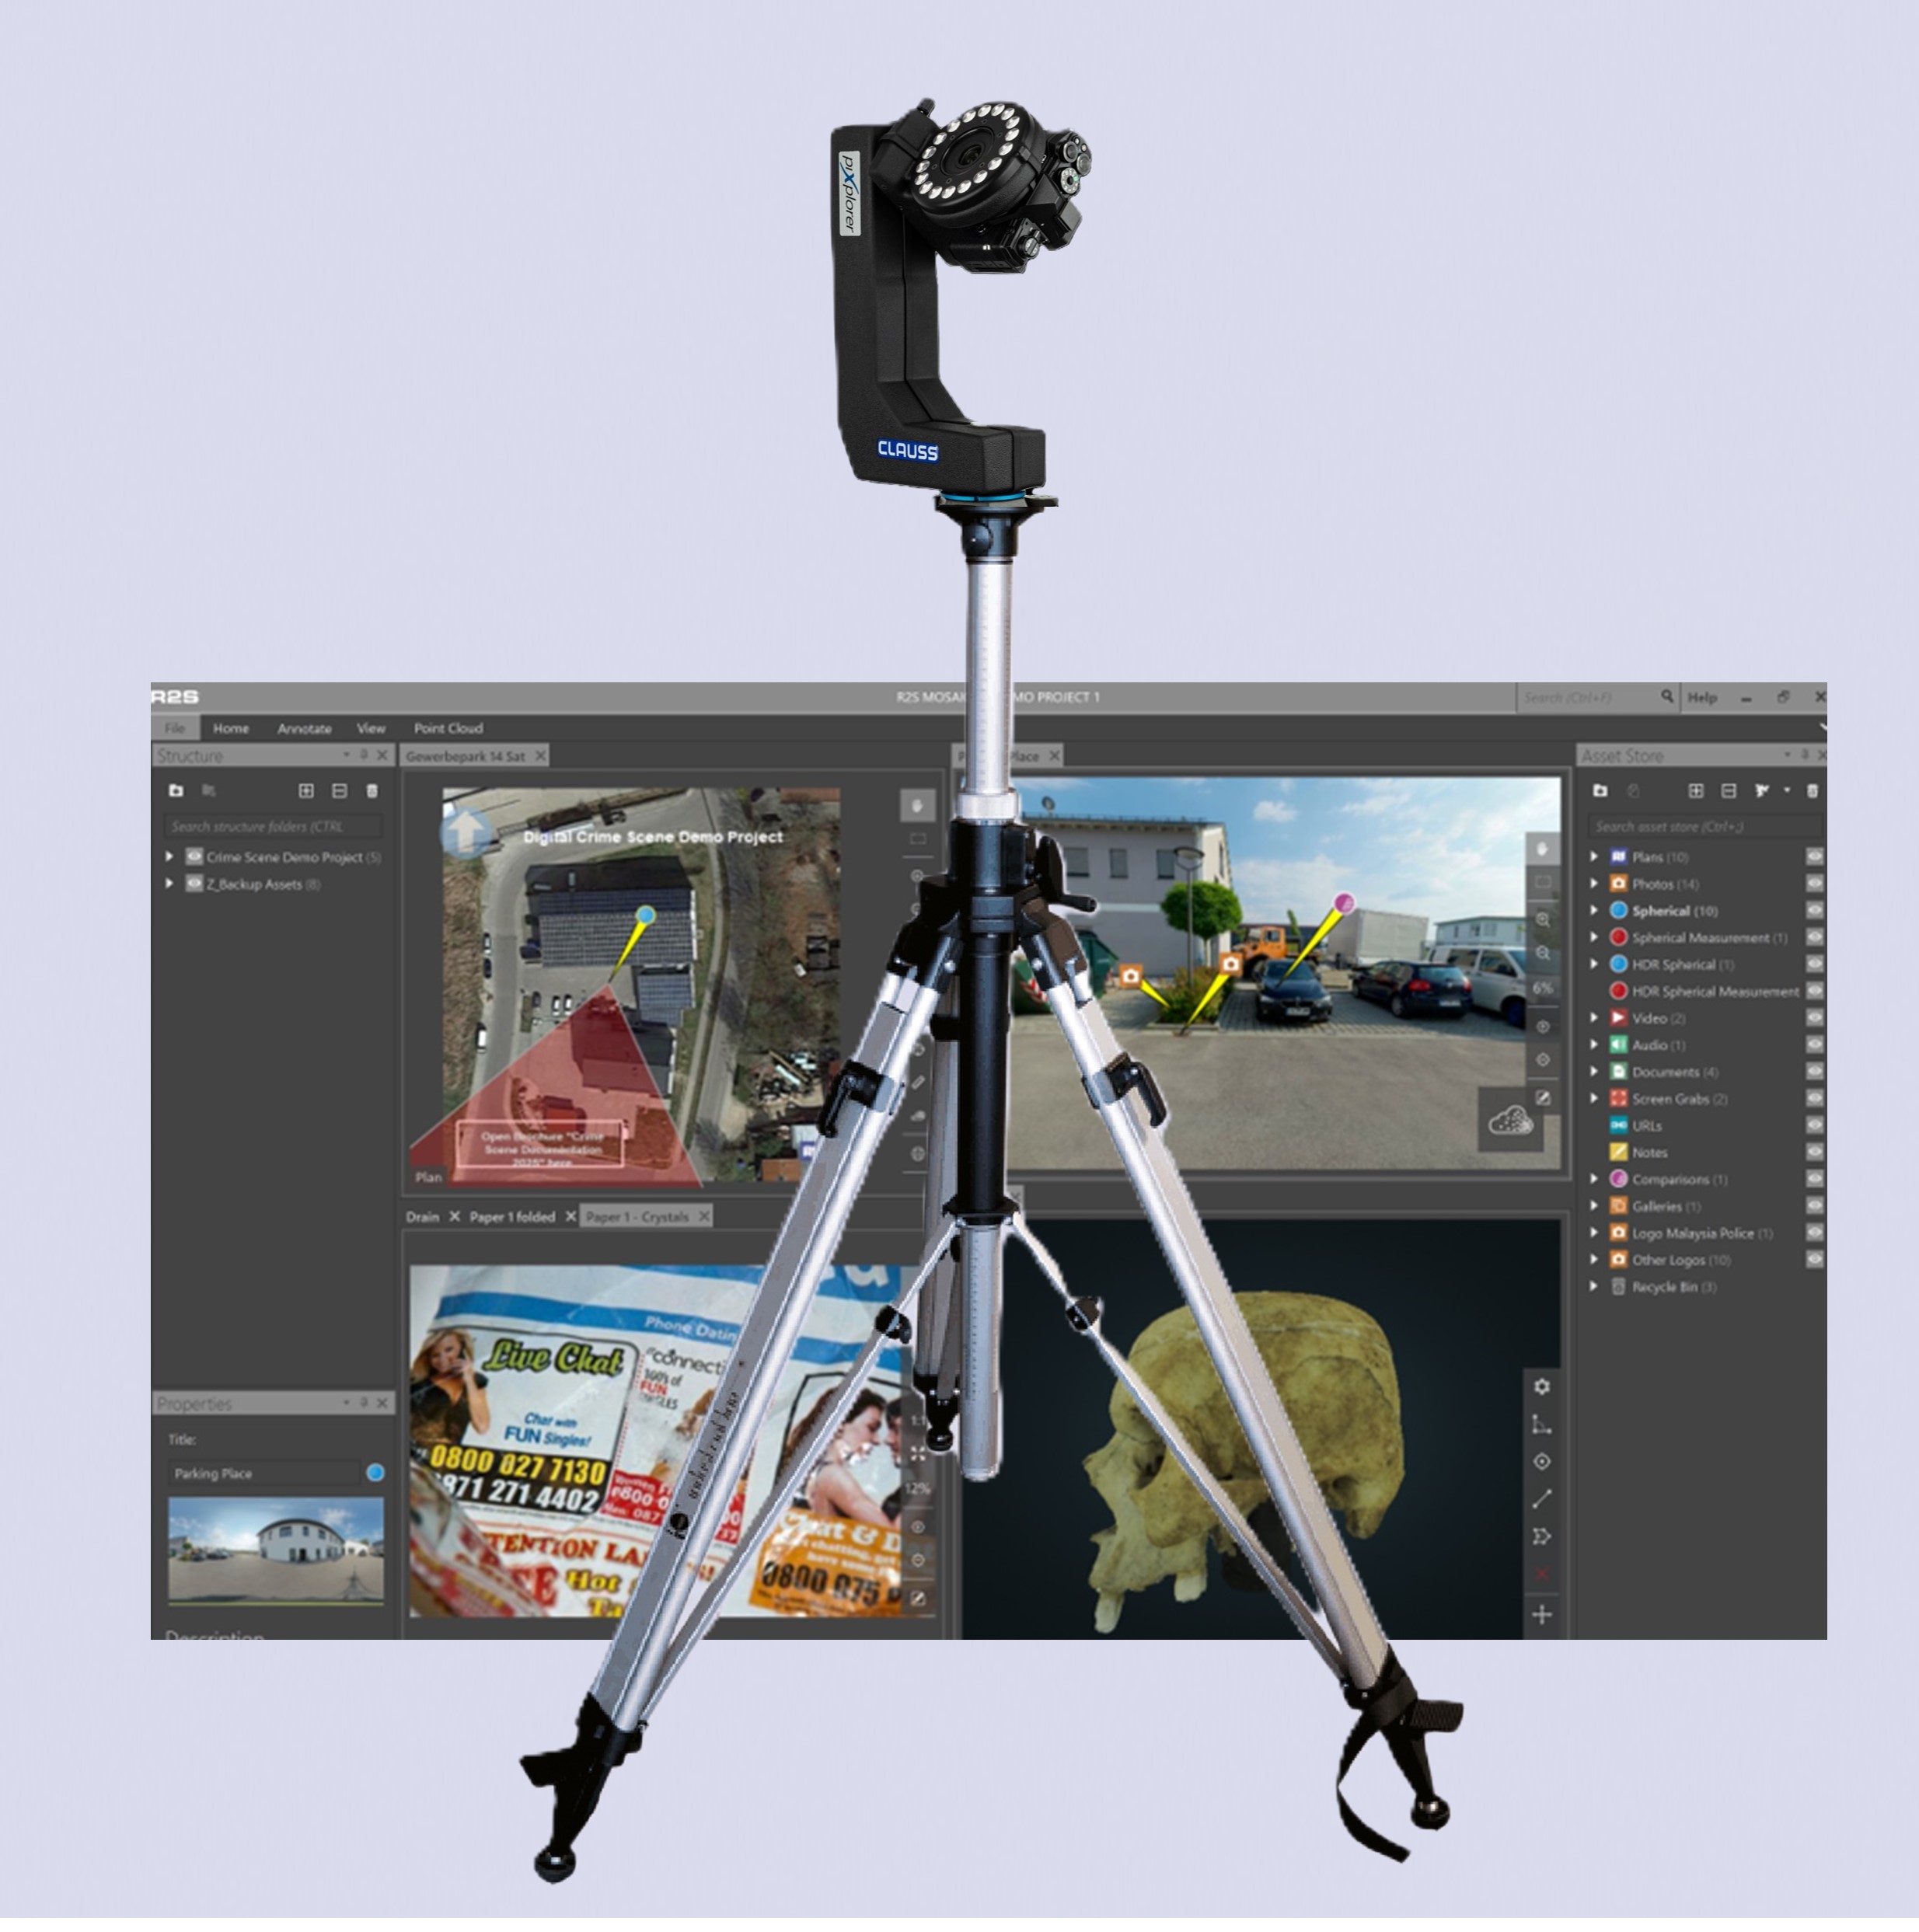
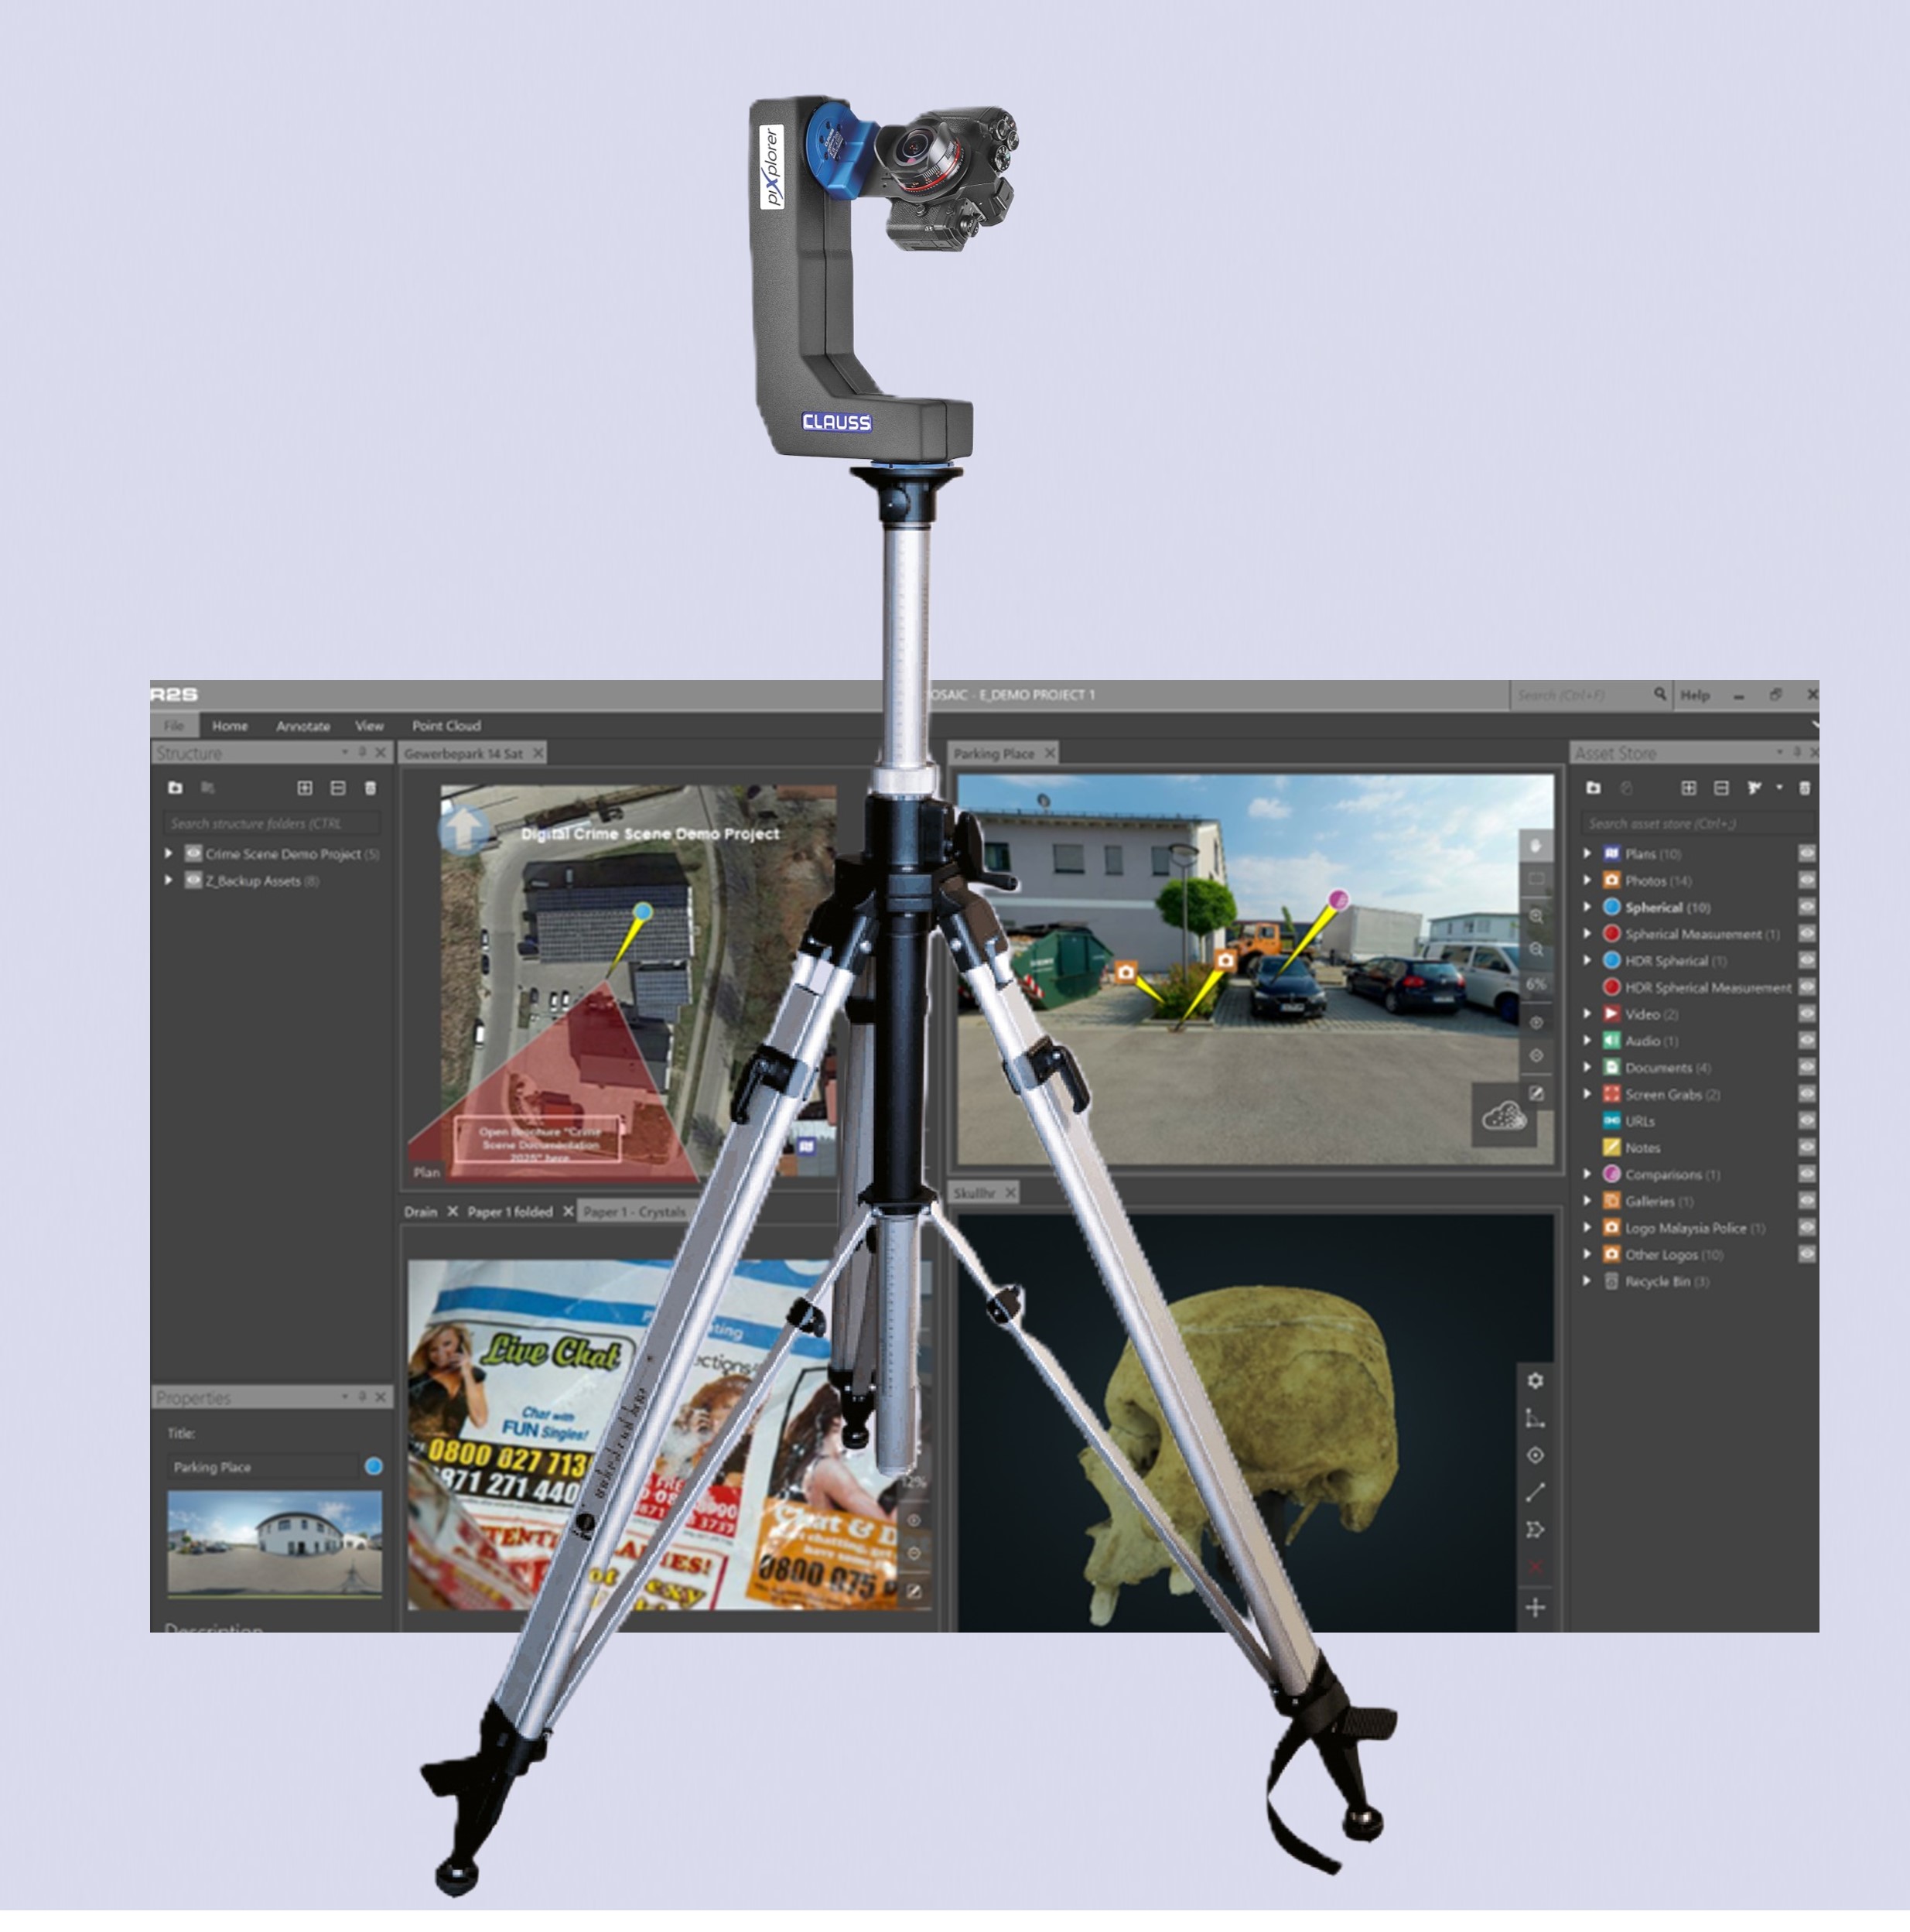
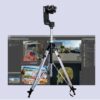
Introduction to piXplorer 500 Mark I/II/III Forensics
- Setup and handling of the piXplorer 500 Forensics including tripods, differences
- Measures to ensure recording quality
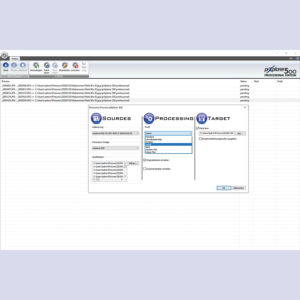
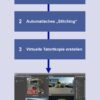
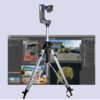
- Introduction to the stitching software “piXpress”
- User interface of the software
- Processing of individual images from the piXplorer 500 into high-resolution panoramas (input and output options, handling)
Introduction to R2S Mosaic
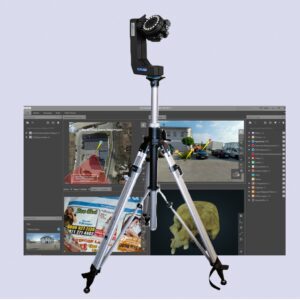
- Introduction to the user interface and structure of the R2S Mosaic software for creating “virtual crime scene tours”
- Import options (plans, images, spheres and measuring spheres, etc.)
- Export options (self-executing file, PDF report, Word report, VT)
- Assembly of a “virtual crime scene tour”
- Personalization options
Practice recordings with the piXplorer 500 in a test building/area
- Handling/demonstration of the recording process
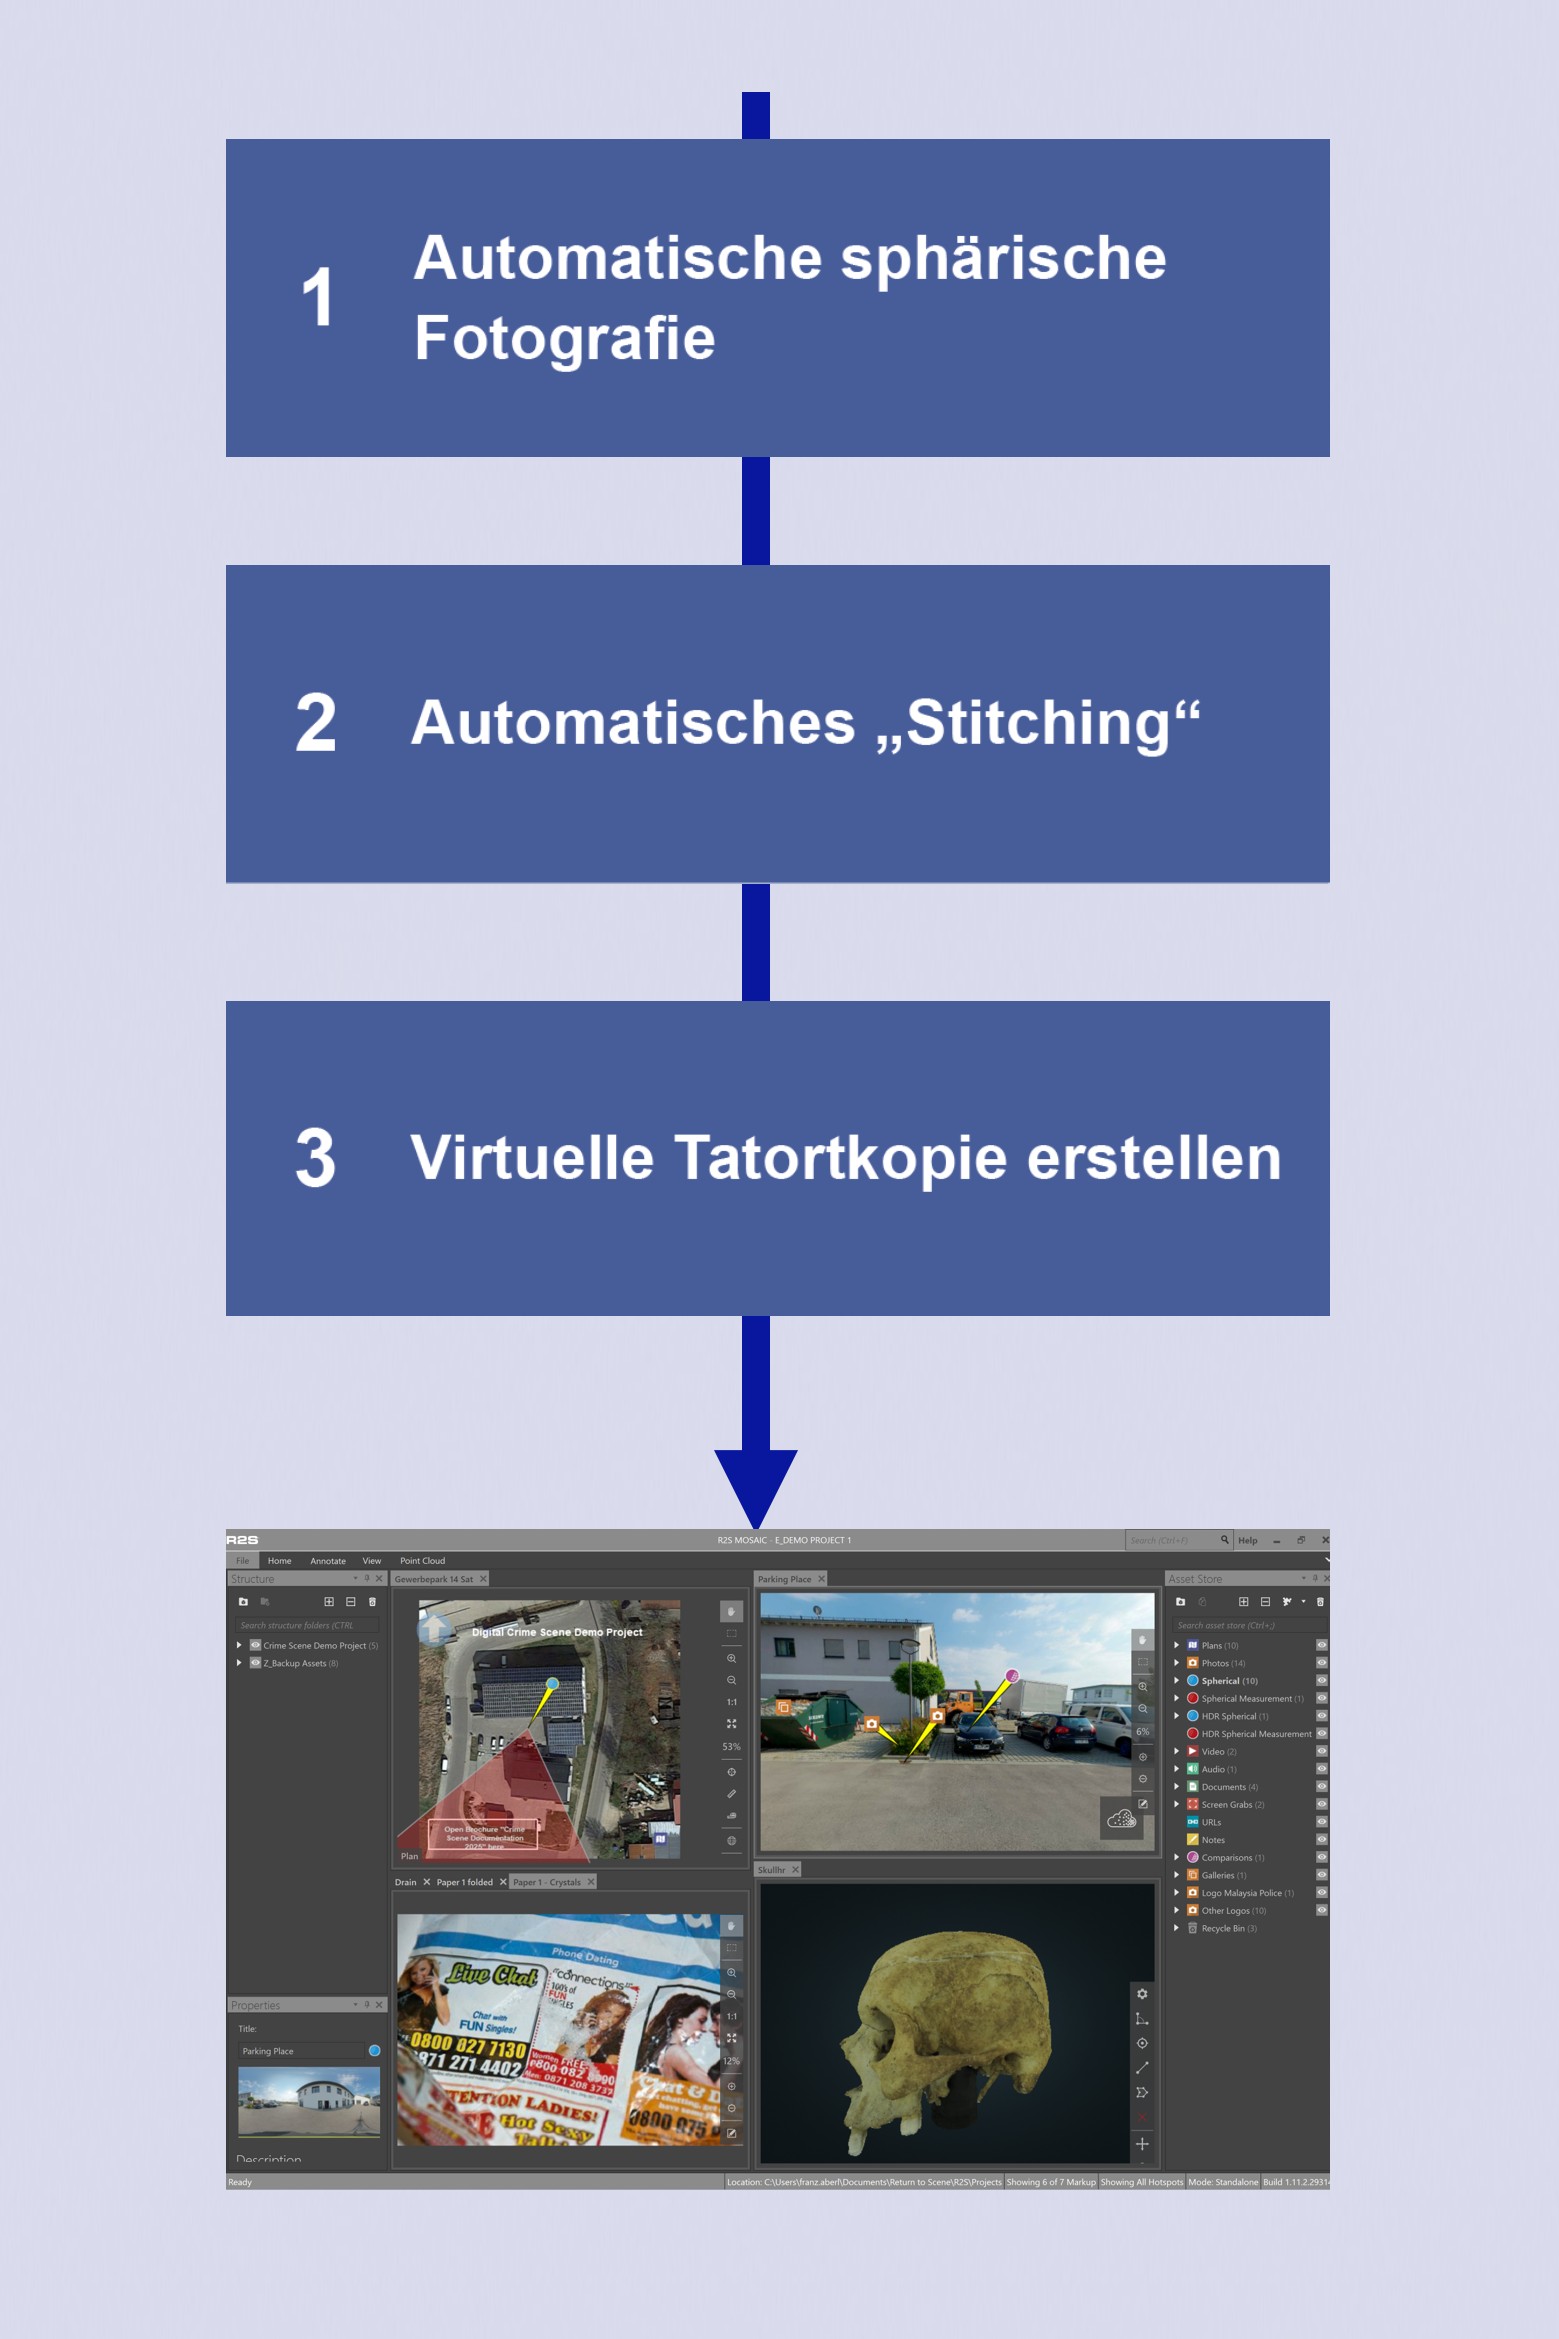
- Practical use of the piXplorer 500 Forensik for creating spherical images
- Combining individual images into 360° panoramas (“stitching”)
Development and optimization of a digital crime scene copy in the R2S Mosaic software
- Importing and editing piXplorer 500 images
- Importing/creating different asset types
- Developing a virtual tour
- Customizing the user interface
- Optimizing/personalizing tours
- Setting the starting point and title image
- Setting entrance perspectives and reference angles
- Working with graphic elements
- Editing and changing hotspot symbols
- Optimizing the user interface
- Customizing asset storage
- Creating and using project templates
- Measuring in plans and spheres
- Creating/exporting tours and crime scene reports (as “self-executing files” as well as Word and PDF documents, VT)